Waking up to the smell of freshly toasted bread is one of life’s simple pleasures, yet often, this joy is marred by unevenly browned slices – one side burnt, the other barely warm. If your toaster seems to have a mind of its own, delivering inconsistent results slice after slice, you’re not alone. Many believe a toaster either works or it doesn’t, but with a few DIY calibration techniques and a deeper understanding of your appliance, you can bring consistency back to your breakfast routine. This guide, drawing on over a decade of experience with toasters, will walk you through the practical steps to achieve that elusive, perfectly golden-brown toast every time, extending the life of your appliance in the process.
What is a Toaster and Why You Need Consistent Results
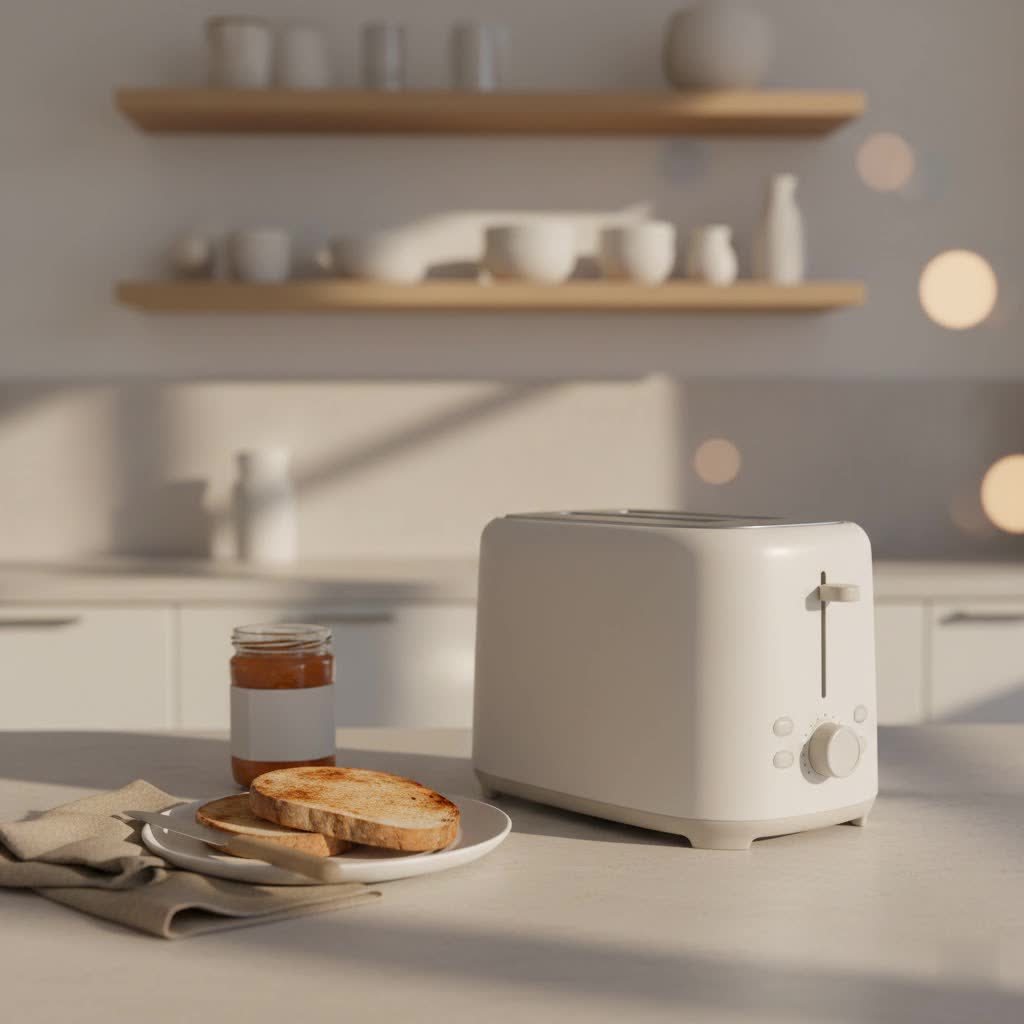
At its core, a toaster is a small kitchen appliance designed to brown sliced bread and similar food items, transforming them into toast through radiant heat. Its primary function is simple: to deliver a crispy, flavorful slice. The history of the toaster dates back to the early 20th century, evolving from basic wire cages over open flames to sophisticated electric machines. Today, the market offers various types, primarily slot toasters (the familiar pop-up models), conveyor toasters (often found in commercial settings), and toaster ovens (versatile appliances for toasting, baking, and broiling).
While the mechanics might seem straightforward, achieving consistently toasted bread is crucial for both culinary satisfaction and health. Uneven toasting can lead to bitter, charred spots, which can contain higher levels of acrylamide, a compound formed when starchy foods are cooked at high temperatures. Consistent results ensure uniform taste, texture, and a healthier breakfast without waste.
Factors Affecting Toaster Performance and Consistency
Understanding why your toaster might be misbehaving is the first step towards “calibrating” it for better performance. Many issues stem from internal components, usage habits, or even the environment.
Type of Toaster
The type of toaster you own significantly influences how you approach “calibration.”
- Slot Toasters: These pop-up models are common for home use. Their “calibration” often involves maintenance, cleaning, and optimizing usage. True electronic re-calibration is rarely an end-user option.
- Toaster Ovens: More versatile, these often have temperature dials. While a precise re-calibration of the thermostat isn’t typically possible for consumers, you can assess its accuracy and adjust your settings accordingly.
- Commercial Conveyor Toasters: These sophisticated machines, often found in restaurants, sometimes feature programmable heat and speed settings that allow for more technical “calibration” by adjusting these parameters. However, this is usually beyond the scope of DIY home repair.
|
Our Picks for the Best Toaster in 2026
As an Amazon Associate I earn from qualifying purchases.
|
||
| Num | Product | Action |
|---|---|---|
| 1 | Elite Gourmet ECT-3100 4-Slice Long Slot Toaster | Extra Wide Slots for Bagels, Sourdough & Texas Toast | 6 Browning Settings | Reheat, Defrost & Cancel | Built-In Warming Rack | Stainless Steel |

|
| 2 | BLACK+DECKER 4-Slice Toaster, Extra Wide Slots, 7 Shade Settings, 1400 Watts, Frozen and Bagel Buttons, Toast Shade Selector, Extra Lift |
|
| 3 | Cuisinart CPT-122BK 2-Slice Compact Plastic Toaster, Slots for Bagels & Bread, 7 Shade Settings, Cancel/Defrost/Reheat Functions, Removable Crumb Tray, Small Kitchen Appliance for Home & Office, Black |
|
| 4 | Elite Gourmet ECT-1027 Cool Touch Toaster, 7 Toast Settings Cancel Functions, Slide Out Crumb Tray, Extra Wide 1.5" Slots for Bagels Waffles Specialty Breads, Puff Pastry, Snacks, White |
|
| 5 | Amazon Basics 2 Slice Toaster, Extra Wide Slots for Bagels, 6 Browning Settings, Removable Crumb Tray, Defrost/Cancel/Bagel Buttons, Cord Wrap, 900W, Black & Silver |
|
| 6 | Elite Gourmet 2-Slice Cool Touch Toaster – 6 Browning Levels, Extra Wide 1.25” Slots for Bagels & Thick Bread, Cancel Function, Compact, ETL Certified, Black |
|
| 7 | BLACK+DECKER® 2-Slice Toaster with 7 Toast Shade Settings, Extra-Wide Slots for Bagels, Stainless Steel Exterior Finish |
|
| 8 | bella 2 Slice Slim Toaster, Fits-anywhere™ Kitchenware, 6 Setting Shade Control with Reheat & Cancel Buttons, Fits Sourdough, 10” Long Slot, Anti Jam & Auto Shutoff, 900 Watt, Surf |
|
| 9 | Cuisinart 4 Slice Compact Stainless Steel Toaster with Extra-Wide Slots for Bread, French Toast, Bagels & Pastries, Defrost & Reheat Functions, CPT-180P1, Brushed Stainless, Removable Crumb Tray |
|
| 10 | bella 2 Slice Slim Toaster, Fits-anywhere™ Kitchenware, 6 Setting Shade Control with Reheat & Cancel Buttons, Fits sourdough, 10” Long Slot, Anti Jam & Auto Shutoff, 900 Watt, Oatmilk |
|
Number of Slots
The number of slots can impact heat distribution. In a two-slot toaster, toasting a single slice can often lead to uneven browning because the heat isn’t distributed evenly throughout the chamber. The empty slot allows heat to escape or concentrate on one side of the bread.
Size and Design
A toaster’s overall size, internal design, and the materials used play a role in its heat consistency.
- Internal Reflectors: The placement and cleanliness of internal reflectors can significantly affect how heat is radiated to the bread.
- Heating Element Configuration: Budget toasters might not be built for perfect symmetry, with heating coils that inherently favor one side [cite: 1 (third search)].
- Material and Durability: The quality of the heating elements (nichrome wires) and other internal components degrades over time, leading to less efficient and uneven heating [cite: 1 (third search)].
Special Features
Features like defrost, bagel, or reheat settings can affect toasting cycles. Understanding how these functions adjust heating patterns is key to using them effectively for consistent results. For instance, the bagel setting typically toasts only one side, which is by design.
Brand and Price
While not a direct “calibration” factor, the brand and price point often correlate with the toaster’s inherent consistency and durability. Generally, higher-quality, more expensive models tend to have more robust components and better heat distribution from the outset, requiring less “DIY calibration” over their lifespan.
DIY Toaster Calibration: Achieving Consistent Results
True “calibration” for most home pop-up toasters isn’t about adjusting internal electronic components in the way you might calibrate a scientific instrument. Instead, it’s about optimizing its performance through maintenance, understanding its quirks, and refining your usage habits. This approach ensures you get reliable, consistent toast.
Safety First
Before attempting any internal inspection or cleaning, always unplug your toaster from the power outlet. This is a critical safety measure to prevent electric shock. Ensure the toaster is completely cool before handling any internal parts.
Thorough Cleaning and Maintenance
Accumulated crumbs and carbon buildup are among the most common culprits for uneven toasting. This simple step can resolve 40-50% of consistency issues.
- Empty the Crumb Tray: Slide out the crumb tray located at the bottom of your toaster. Discard all crumbs and wash the tray if it’s removable and dishwasher-safe, or wipe it clean with a damp cloth. Ensure it’s completely dry before reinserting.
- Remove Internal Crumb Buildup: Flip the unplugged toaster upside down over a sink or trash can and gently shake it to dislodge any remaining crumbs.
- Clean Heating Elements: Use a soft, non-metallic brush (like a clean paintbrush or a wooden skewer) to gently dislodge any carbon deposits or crumbs stuck to the heating wires. Never use metal tools, as they can damage the delicate heating elements. Shine a flashlight into the slots to ensure all visible debris is removed. This buildup can create “hot spots” by insulating certain areas or blocking airflow [cite: 1 (third search)].
Inspecting Heating Elements
After cleaning, a visual inspection of the heating elements can reveal significant issues.
- Check Glow Pattern (Briefly!): Plug in the toaster briefly and set it to a low setting. Observe if all heating elements glow evenly. If some areas are significantly darker or don’t glow at all, it might indicate worn-out or broken elements.
- Adjusting Elements (with extreme caution): In some cases, heating elements might be pressed too flush against the backing or become slightly bent over time. Only attempt this if you are confident and have unplugged the toaster. One user reported fixing uneven heating by gently pulling flush elements away from the backing with a wooden skewer to create a small standoff, ensuring more consistent heating. Exercise extreme caution as these wires are fragile.
Optimizing Toasting Technique
Even with a well-maintained toaster, your toasting technique can make a significant difference in achieving consistent results.
- Pre-heat the Toaster: For the most consistent results, especially on the first use of the day, run the toaster empty for one cycle on a low setting. This warms up the coils, ensuring more even heat distribution when you put in your bread.
- Flipping and Rotating Bread: If your toaster consistently browns one side more than the other, try pausing the toasting cycle halfway through, flipping your bread upside down, and rotating it. This can help ensure both sides receive an even amount of heat.
- Toasting Multiple Slices: If your toaster has multiple slots, try toasting two slices at a time, even if you only need one. This helps balance the heat distribution across the toaster’s chamber, preventing heat from concentrating on a single slice.
- Adjusting Settings for Bread Type: Different types of bread (thicker slices, denser loaves, or bread with high moisture content) toast differently. You may need to adjust your toaster’s browning setting or keep a closer eye on specialty breads to achieve desired consistency. Experiment with mid to low power settings and toast twice for a more controlled browning.
“Consistency in toasting often comes down to understanding your appliance’s quirks and being proactive with simple maintenance. A clean toaster is a happy toaster.” – Admin, ReviewOrx.com, Toaster Specialist
Addressing Thermostat and Wiring Issues
If cleaning and technique adjustments don’t solve the problem, the issue might be more internal, such as with the thermostat or timing circuit. Signs include one slot finishing much earlier, the toaster popping up too soon or too late, or toast color changing dramatically with every cycle.
- Inspect Wiring (Advanced DIY): If you are comfortable and capable, and after ensuring the toaster is unplugged, you might open the bottom panel (if accessible) to look for loose wires, burnt connectors, weak springs, or dirty contacts. Tightening loose terminals or cleaning contacts can sometimes restore performance. However, this is a more advanced step and should only be attempted by those with electrical knowledge.
- Heating Element Replacement: If a heating wire is completely broken or burnt out, replacement is the only long-term fix. Replacement elements are often inexpensive and specific to toaster models. This requires safely opening the toaster and carefully replacing the damaged element.
Advanced Tips for Toaster Oven Calibration
Toaster ovens, with their more precise temperature controls, allow for a different type of “calibration” – verifying temperature accuracy. While most consumer toaster ovens cannot be electronically re-calibrated by the user, knowing if yours runs hot or cool helps you adjust recipes and settings.
- The Sugar Test: This simple test helps you determine if your toaster oven’s temperature is accurate [cite: 1 (second search)].
- Preheat your toaster oven to 350°F (175°C).
- Place two teaspoons of granulated sugar in the center of a small foil square.
- Place the foil square on the center rack of your preheated toaster oven for 15 minutes.
- Result: If your toaster oven is accurately calibrated, the sugar should brown but not melt completely. If it melts, your oven runs hot; if it doesn’t brown much, it runs cool.
Knowing your toaster oven’s true temperature allows you to make manual adjustments to its dial or cooking times for more consistent results.
When to Consider an Upgrade
Despite your best DIY calibration efforts, some toasters reach a point where inconsistencies become persistent and unfixable. If you’ve cleaned, adjusted, and optimized your usage without success, or if internal components are severely damaged or worn out, it might be time to consider an upgrade. Look for models with features designed for consistency, such as precise browning controls, self-centering guides, and robust heating elements, to ensure your next toaster delivers perfectly consistent toast from day one.
Conclusion
Achieving consistent toast doesn’t require a brand-new appliance or complex technical skills. By understanding the common culprits behind uneven browning and applying these DIY calibration and maintenance tips, you can significantly improve your toaster’s performance. From meticulous cleaning to optimizing your toasting technique, each step contributes to longer appliance life and, more importantly, a consistently perfect slice of toast. Remember, a little attention goes a long way in transforming your morning routine. What simple “calibration” step will you try first to elevate your breakfast experience?
Frequently Asked Questions
My toaster always burns one side. What’s the quickest fix?
The quickest fixes usually involve ensuring the toaster is clean and free of crumbs. Accumulated debris can create hot spots. Also, try flipping and rotating your bread halfway through the toasting cycle. If issues persist, inspect for tilted bread guides or damaged heating elements.
Can a regular pop-up toaster actually be “calibrated”?
For most home pop-up toasters, “calibration” refers more to optimizing performance through diligent cleaning, smart usage habits, and basic maintenance rather than adjusting internal electronic settings. While not a true electronic calibration, these DIY steps can significantly improve consistency.
How often should I clean my toaster?
It’s recommended to empty the crumb tray after every few uses or at least weekly. A thorough internal cleaning, including inspecting heating elements, should be done monthly or whenever you notice inconsistent toasting. Regular cleaning prevents crumb buildup from affecting performance.
Does the type of bread affect toasting consistency?
Absolutely. Different breads vary in moisture content, density, and thickness, all of which impact how they toast. Thicker, moister breads may require lower settings and longer cycles, or even a second cycle, to achieve desired crispness compared to thin, dry slices.
Is it safe to try to repair my toaster myself?
Only attempt DIY repairs if you are comfortable and prioritize safety. Always unplug the toaster completely and allow it to cool before any internal inspection or cleaning. For complex issues involving wiring or significant component replacement, it’s safer to consult a professional or consider replacing the appliance.